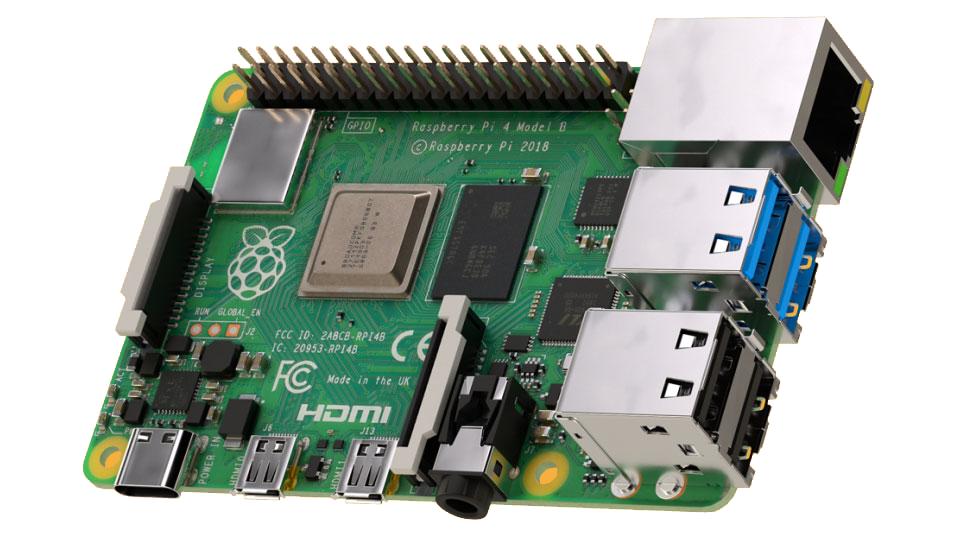
How to set up digital signage screens on a Raspberry Pi 4

Please note: The instructions below are for Raspberry Pi 4, and will not work with the Raspberry Pi 5 at the moment.
Here's what you will need:
A HDTV Monitor/Any TV
(with HDMI input)
A Raspberry Pi
(We recommend a Raspberry Pi 4 Model B 4GB).
Internet Connection
To upload and update content
Before installing the PosterBooking app, please make sure you have Raspberry OS installed, if you are using a brand new Raspberry Pi you will need to install Raspberry OS
Instructions to install Raspberry OS can be found here.
Step 1: Download the Raspberry Pi image file.
Click here to download it and then transfer it onto a USB drive and upload it onto the desktop of your Raspberry Pi.
You can also download it by visiting Posterbooking.com/downloads/PosterBooking.deb using any browser on your Raspberry Pi.
Step 2: Set file permissions
Using your mouse, Right click on the PosterBooking.deb file. Go to Properties select Permissions and under Execute click on the dropdown and choose ‘Anybody’. Press OK.
Step 3: Run Terminal
Run the Terminal app on your Raspberry Pi and run the command: cd Desktop.
Instructions to install Raspberry OS can be found here.
Step 4: Install PosterBooking
Next type: sudo dpkg -i PosterBooking.deb
Congratulations!
You have now installed the PosterBooking image onto the Raspberry Pi.